How to Set Up the Perfect Podcasting Studio for Clear, Professional Audio
Introduction
Podcasting has grown exponentially in recent years, with millions of people tuning in to their favorite shows daily. Whether you're a seasoned podcaster or just starting, setting up a high-quality podcasting studio is crucial for producing professional-grade audio. Poor sound quality can drive away listeners, while clear and crisp audio can keep them engaged.
This guide will walk you through everything you need to set up the perfect podcasting studio, from choosing the right equipment to optimizing your recording environment. By the end of this article, you’ll have a clear roadmap to create a podcasting studio setup that ensures top-tier sound quality.
Essential Components of a Podcasting Studio
1. Selecting the Right Space
The first step in creating your podcasting studio is choosing an ideal location. A dedicated recording space will significantly enhance your audio quality. Consider the following when selecting a space:
Quiet Environment – Choose a room with minimal background noise.
Minimal Echo Reverberation – Opt for a carpeted room with soft furnishings to absorb sound.
Adequate Space – Ensure there’s enough room for your equipment and any co-hosts or guests.
2. Investing in Quality Microphones
The microphone is the heart of any podcasting setup. There are two main types:
Dynamic Microphones – Ideal for beginners, as they are less sensitive to background noise.
Condenser Microphones – Provide richer sound but require a quiet, well-treated space.
Some popular microphone choices for podcasting include:
Shure SM7B (Dynamic, professional-grade)
Audio-Technica AT2020 (Affordable condenser mic)
Rode PodMic (Great budget-friendly dynamic mic)
3. Choosing the Best Audio Interface
An audio interface connects your microphone to your computer and converts analog sound into digital signals. Essential factors to consider include:
Number of Inputs – Choose based on the number of microphones you need.
Audio Quality – Look for an interface with a high bit depth and sample rate.
Compatibility – Ensure it works with your recording software.
Popular audio interfaces include:
Focusrite Scarlett 2i2
Rodecaster Pro II (Great for multi-person podcasts)
4. Headphones for Monitoring
A good pair of closed-back headphones will help you monitor your audio while recording. Recommended options include:
Audio-Technica ATH-M50x
Beyerdynamic DT 770 Pro
Sony MDR-7506
5. Pop Filters Microphone Stands
To reduce plosive sounds (like ‘p’ and ‘b’ sounds), use a pop filter. A sturdy microphone stand or boom arm also helps keep the mic steady and at the right height.
6. Soundproofing and Acoustic Treatment
A well-treated room is essential for professional audio quality. Here are some tips:
Acoustic Foam Panels – Reduce echo and unwanted noise.
Bass Traps – Absorb low-frequency sound.
Carpets Curtains – Help dampen reflections and outside noise.
Software and Recording Setup
1. Choosing the Right Recording Software
Your Digital Audio Workstation (DAW) is where you record, edit, and mix your podcast. Some popular DAWs include:
Audacity (Free and beginner-friendly)
Adobe Audition (Professional editing tools)
GarageBand (Great for Mac users)
Reaper (Affordable and versatile)
2. Setting Up Your Recording Workflow
Adjust Your Gain Levels – Ensure the audio input isn’t too high to avoid distortion.
Record in a Controlled Environment – Reduce background noise and distractions.
Use Compression Noise Reduction – Enhance audio clarity and consistency.
Additional Tips for a Professional Podcasting Studio Setup
Use an external hard drive to store large podcast files.
Invest in a mixer if you plan to have multiple audio sources.
Consider live streaming equipment if you plan to broadcast in real-time.
Case Study: A Successful Podcasting Studio Setup
Many professional podcasters started with simple setups before upgrading over time. Take the example of a small business owner in Lahore who set up a home podcasting studio using a Rode PodMic, Focusrite Scarlett 2i2, and Audacity. Within months, they upgraded their space with acoustic treatment, turning it into a professional-grade studio for interviews and brand collaborations.
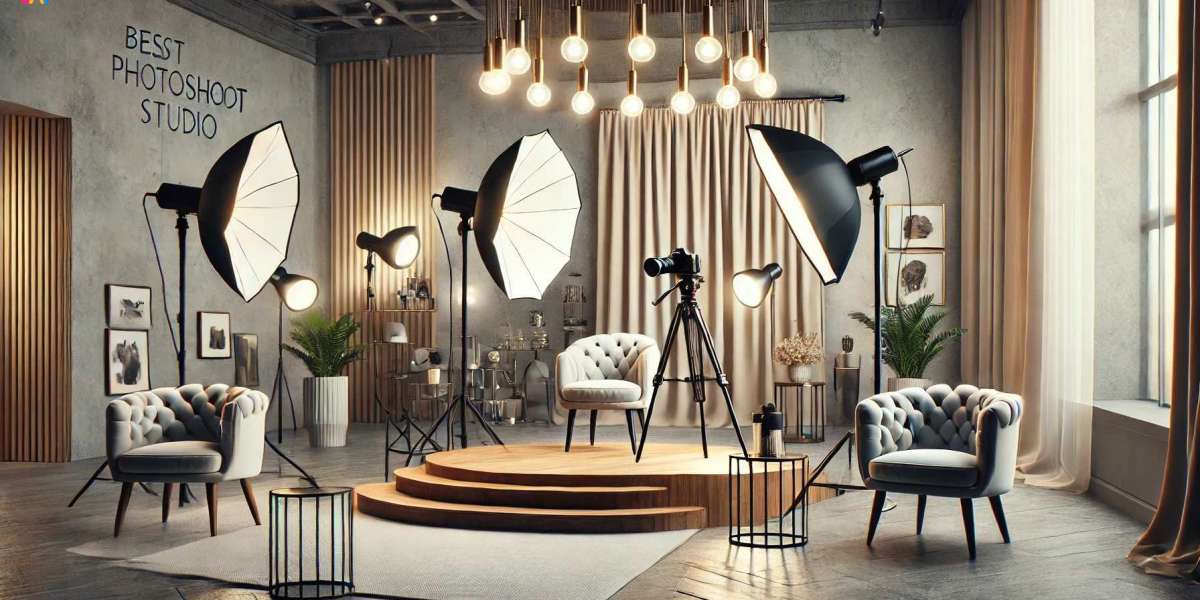
For those looking for a photo studio to complement their podcasting setup with professional visuals, they can explore Photo Studio for high-quality branding shoots.
FAQs About Podcasting Studio Setup
1. Do I need an expensive microphone to start a podcast?
No, a budget-friendly dynamic microphone can provide great sound quality for beginners.
2. How do I soundproof my podcasting studio on a budget?
Use carpets, curtains, bookshelves, and DIY acoustic panels to reduce noise and echo.
3. What’s the best podcasting software for beginners?
Audacity is a free and easy-to-use software that’s perfect for beginners.
4. Can I record a podcast without an audio interface?
Yes, but an audio interface improves sound quality significantly compared to using a USB mic alone.
5. How important is a dedicated podcasting space?
A dedicated space helps eliminate background noise and ensures consistent audio quality.
Conclusion
Setting up a podcasting studio may seem daunting, but with the right equipment, software, and environment, you can achieve professional-quality audio. Start with a quiet space, invest in essential gear like a good microphone and headphones, and optimize your recording environment for the best sound quality.
For those looking to elevate their brand with professional visuals, check out this photoshoot studio to enhance your podcast’s marketing.
Do you have a home podcasting setup? Share your experience in the comments below!


