In today’s digital world, images are everywhere. Whether you're working on a website, social media post, or preparing images for printing, resizing images is often a necessary step. An online image resizer can make this process quick and easy without needing to download or install any software. This guide will explain what an image resizer is, why it's useful, and how to resize images using online tools.
Why Use an Online Image Resizer?
An online image resizer is a web-based tool that allows you to change the dimensions (width and height) of an image without losing quality. Here are some reasons you might want to resize an image:
- Optimize for Websites: Large image files can slow down website load times. Resizing images for the web ensures they load faster while maintaining quality.
- Social Media Posts: Social platforms like Instagram, Facebook, and Twitter have specific image size requirements. Resizing your images ensures they look great and meet these standards.
- Email Attachments: Large image files can be hard to send via email. Resizing reduces the file size, making it easier to attach and send.
- Print Preparation: Resizing images to fit specific print dimensions ensures they print at the correct size without distortion.
How to Use an Online Image Resizer
Using an online image resizer is simple and doesn’t require technical skills. Here’s a step-by-step guide on how to resize your images online:
1. Choose an Online Image Resizer Tool
There are many online tools available to resize images. Some popular and user-friendly options include:
- PicResize
- ResizeImage.net
- iLoveIMG
- BulkResizePhotos.com
- Fotor
Each tool works in a similar way, and you can use any of them based on your preferences. Here, we’ll use a general guide that applies to most online image resizers.
2. Upload Your Image
- Visit the chosen image resizing tool’s website.
- Click the Upload or Choose File button to select the image you want to resize. You can usually upload images in multiple formats, including JPG, PNG, GIF, and BMP.
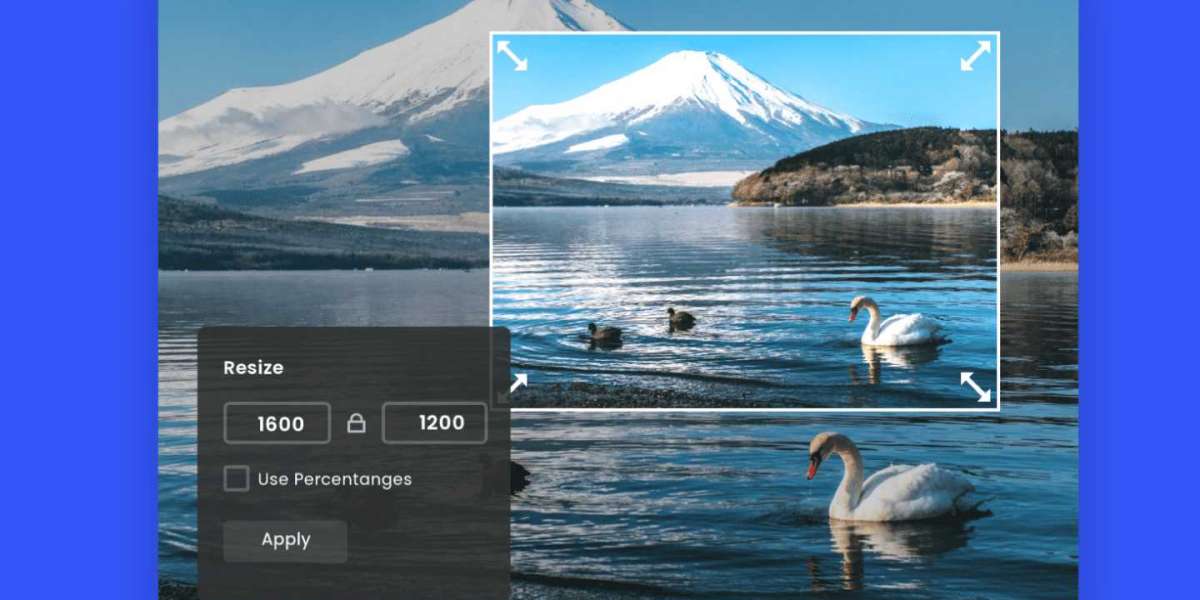
3. Adjust the Image Size
Once your image is uploaded, you’ll typically see options to adjust the image size. You can resize by:
- Percentage: Resize the image by a percentage (e.g., 50% to reduce the image size by half).
- Specific Dimensions: Manually enter the width and height (in pixels) for the resized image. Some tools maintain the aspect ratio automatically to avoid distortion.
- Scaling: Choose from preset size options if the tool provides them (e.g., resize for social media, web, or print).
4. Apply Settings and Resize the Image
- After adjusting the size, click the Resize button to apply the changes.
- Some tools will allow you to preview the image before saving it, so you can ensure it looks right.
5. Download the Resized Image
Once the image has been resized, the tool will typically provide a link to download the image. Click the Download button to save the resized image to your computer.
Pros of Using an Online Image Resizer:
- No Software Needed: These tools are web-based, meaning you don’t need to install anything on your device.
- Easy to Use: Most online tools have simple, user-friendly interfaces, making resizing accessible to anyone.
- Free: Many image resizers are free for basic tasks, though some may offer premium features for a fee.
- Convenient: Resize images quickly, without waiting for downloads or complicated software.
Cons of Using an Online Image Resizer:
- Limited Functionality: Online tools may not offer advanced features like batch resizing, detailed editing, or complex formatting.
- File Size Limits: Some online resizers may have size limits on the images you can upload.
- Internet Connection Required: You need a stable internet connection to use these tools, and uploading large files may take time.
Additional Features of Online Image Resizers
Besides just resizing images, many online resizers offer additional features that can be useful:
- Cropping: Some tools allow you to crop your image before resizing, letting you focus on a specific part of the picture.
- Compression: You can often compress the resized image to reduce file size without sacrificing quality.
- Rotating: If your image is not oriented correctly, many resizers allow you to rotate the image before resizing.
- Converting Formats: Some resizers also allow you to convert images between formats (e.g., from PNG to JPG or vice versa).
- Batch Resizing: Certain tools let you resize multiple images at once, which is perfect for working with large sets of images.
Common Use Cases for Resizing Images
Social Media Posts: Every social media platform has its own preferred image dimensions. For example:
- Instagram post: 1080px x 1080px (square)
- Facebook cover photo: 820px x 312px
- Twitter header: 1500px x 500px Resizing ensures your images look great and display properly on these platforms.
Website Optimization: Resize images to the ideal size (such as 1920px x 1080px for large banner images) while maintaining a smaller file size to improve loading speed.
Email Attachments: If you’re sending images via email, resizing to a smaller dimension (such as 800px x 600px) makes it easier to send without affecting email load times.
Best Practices for Resizing Images
- Maintain Aspect Ratio: When resizing, always maintain the aspect ratio of the image (the proportional relationship between width and height). This prevents distortion and ensures your image doesn’t look stretched or squished.
- Optimize for Web: When resizing images for web use, aim to reduce the file size to help the page load faster. Tools like TinyPNG can help optimize images without losing much quality.
- Choose the Right Format: For the web, JPG is great for photographs, while PNG is better for images that require transparency or sharper lines (like logos). GIFs are often used for simple animations.
Conclusion
An online image resizer is an easy and efficient tool for anyone who needs to adjust the size of an image. Whether you're optimizing images for your website, preparing them for social media, or reducing file sizes for email, online resizers make the task simple. By following the steps outlined above and utilizing the right resizer, you can quickly and effectively resize images to meet your needs.


