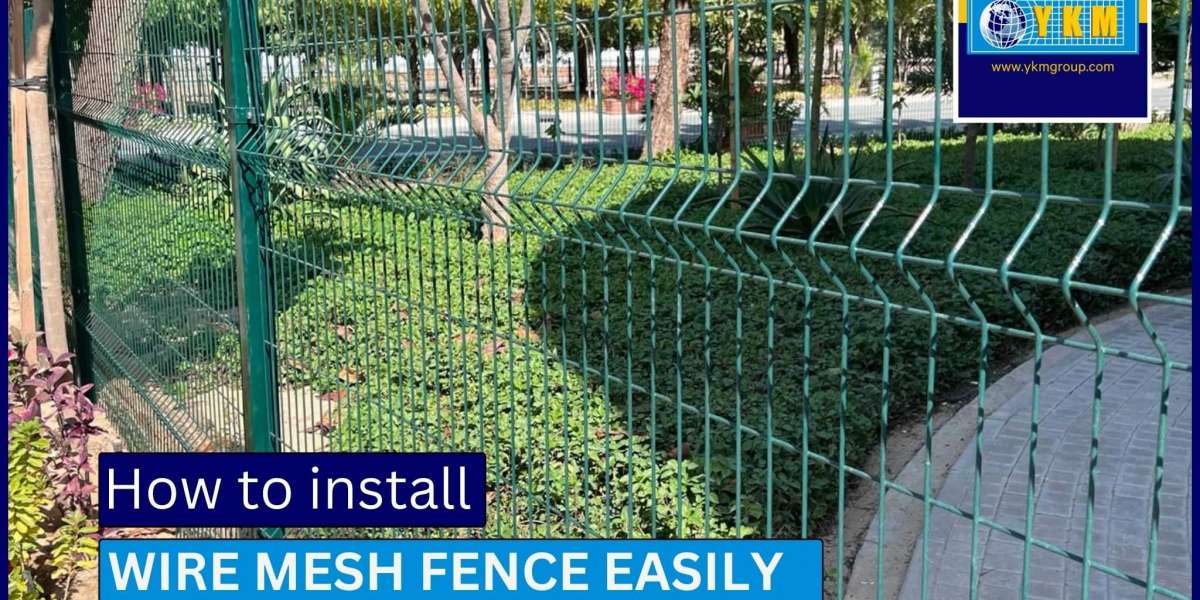
When it comes to defining boundaries or enhancing security around your property, a welded mesh fence is a solid choice. Not only does it provide a sturdy barrier, but it also adds a touch of modernity to your outdoor space. So, if you're ready to roll up your sleeves and dive into this DIY project, let’s break down the steps you need to take to learn how to install a welded mesh fence by yourself.
Materials Needed to install
- Welded mesh panels
- Fence posts
- Concrete mix (for setting posts)
- Fence post caps
- Brackets or clamps
- Level
- Tape measure
- Line Wire
- Hammer or post driver
- Wire cutters
- Power drill
- Protective gloves and eyewear
Step by Step Guide on Installing Welded Fence
Step 1: Planning and Preparation
- Determine the Location: Decide where you want to install the fence. Mark the corners and any gates using stakes or spray paint.
- Check Local Regulations: Before you start, check with local authorities for any permits or regulations regarding fence installation.
- Gather Materials: Ensure you have all necessary materials on hand to avoid delays.
Step 2: Measure and Mark the Area
- Measure the Length: Use a tape measure to determine the total length of the fence line. Account for any gates.
- Mark Post Locations: Typically, posts should be spaced 6 to 8 feet apart. Use a line wire to create a straight line along the marked area, ensuring the fence will be aligned properly.
Step 3: Dig Post Holes
- Determine Post Hole Depth: The depth should be at least one-third the height of the fence post. For example, if your posts are 6 feet tall, the holes should be at least 2 feet deep.
- Dig Holes: Use a post hole digger to excavate the holes at the marked locations.
Step 4: Set the Fence Posts
- Position the Posts: Place the posts in the holes, ensuring they are upright and aligned with the line wire.
- Secure the Posts: Pour concrete mix into the holes around the posts. Follow the manufacturer's instructions for mixing. Allow the concrete to set according to the recommended time, usually 24-48 hours.
Step 5: Attach Welded Mesh Panels
- Position the Panels: Once the posts are secure, begin attaching the welded mesh panels. Start at one end and work your way along the fence line.
- Use Brackets or Clamps: Secure the panels to the posts using brackets or clamps. Ensure each panel is level before tightening.
- Trim Panels if Necessary: If the panels are too long, use wire cutters or a power saw to trim them to the desired length.
Step 6: Final Adjustments
- Check for Level: After all panels are installed, check to ensure everything is level and straight. Make any necessary adjustments.
- Install Post Caps: To protect the tops of the posts from water damage, install post caps.
- Clean Up: Remove any excess concrete, debris, or leftover materials from the installation area.
Step 7: Maintenance Tips
- Regular Inspections: Check for any loose panels or damaged posts and address issues promptly.
- Clean the Fence: Occasionally clean the fence to prevent rust and maintain its appearance.
- Repaint if Needed: If the fence begins to show signs of wear, consider repainting it to extend its life.
Conclusion
Installing a welded mesh fence is a manageable DIY project that can provide security and enhance the visual appeal of your property. By following these steps and taking your time, you can achieve a sturdy and attractive fence that will last for years. Happy fencing!


