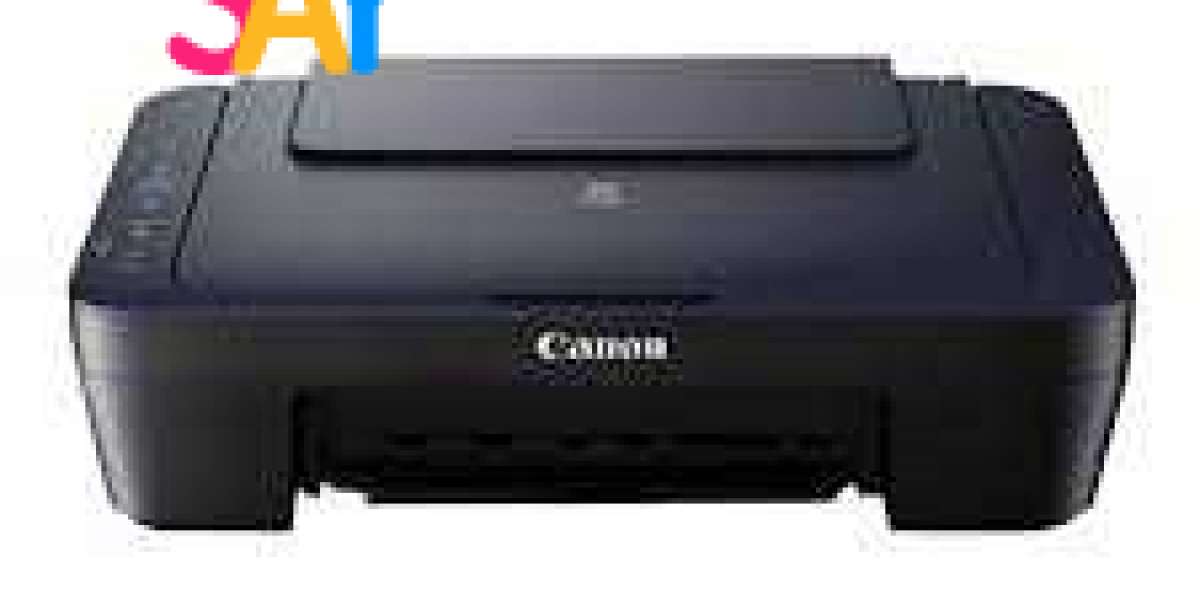
Setting up a https //ij.start.cannon, but with the right guidance, it can become a breeze. In this article, we will provide you with a step-by-step guide to the official website for Canon printer setup. Whether you're a tech-savvy individual or a beginner, this guide will help you navigate through the process smoothly. So, let's dive in!
Step 1: Gather the necessary information Before starting the setup process, make sure you have the following information handy:
- Network details (Wi-Fi network name and password)
- Printer model number
- USB cable (if you prefer a wired connection)
- Computer or mobile device with internet access
Step 2: Open a web browser Launch your preferred web browser on your computer or mobile device. Ensure that you have a stable internet connection.
Step 3: Visit Typ into the address bar of your browser and hit Enter. This will take you to the official Canon printer setup page.
Step 4: Choose your region and language On the page, you'll see a dropdown menu to select your region and language. Choose the appropriate options that apply to you.
Step 5: Download and install the printer software Once you've selected your region and language, you'll be redirected to a page where you can download the printer software. Click on the "SETUP" button to begin the download.
Step 6: Run the downloaded file Locate the downloaded file (usually in the "Downloads" folder) and double-click on it to run the installation process. Follow the on-screen instructions to install the software.
Step 7: Connect your printer to the network During the installation process, you'll be prompted to connect your printer to your Wi-Fi network. Follow the instructions provided by the software to establish the connection.
Step 8: Complete the setup Once the printer is connected to the network, the software will guide you through the remaining setup steps. This may include selecting your printer model, setting up additional features, and configuring preferences.
Step 9: Test your printer After completing the setup process, it's time to test your printer. Print a test page or any document to ensure that everything is working correctly.
Conclusion: Setting up a https://ij.start.canon, thanks to the user-friendly interface of. By following the step-by-step guide provided in this article, you can simplify the printer setup process and have your printer up and running in no time. Remember to gather all the necessary information beforehand and ensure a stable internet connection throughout the setup process. Happy printing!


