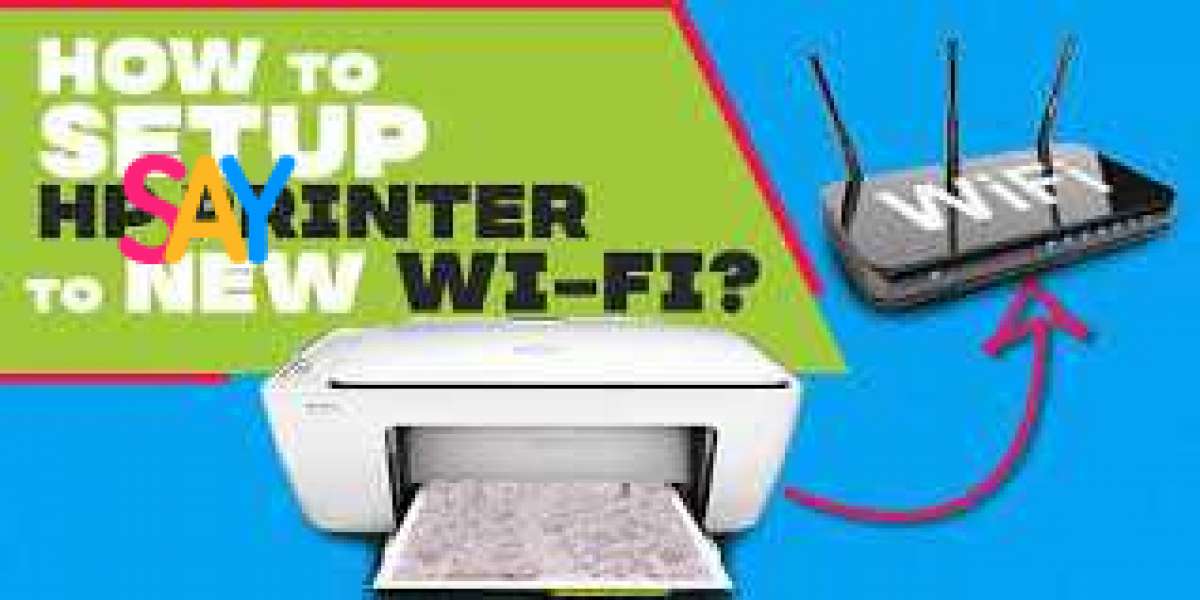
In today's digitally connected world, how to setup hp printer to new wifi with your WiFi network is essential for both personal and professional needs. If you've recently switched to a new WiFi network or have purchased a new HP printer, setting it up to your WiFi network might seem like a daunting task at first. However, with the right guidance, it can be a straightforward process. In this article, we'll walk you through the steps to set up your HP printer to a new WiFi network effortlessly.
Step 1: Preparation
Before you begin the setup process, make sure you have the following items ready:
- Your HP printer.
- A stable WiFi network with the correct network name (SSID) and password.
- A computer, laptop, or mobile device connected to the same WiFi network.
- Printer setup software or the HP Smart app installed on your device. If not installed, you can download it from the respective app store or HP's official website.
Step 2: Power On Your Printer
Ensure your HP printer is powered on and in a ready state. If it's a new printer, follow the setup instructions provided with the printer to complete the initial hardware setup.
Step 3: Access Printer Settings
Using the control panel on your HP printer, navigate to the "Settings" or "Setup" menu. The exact location of these options may vary depending on your printer model. Refer to the printer's manual if you're unsure.
Step 4: Connect to WiFi
- Within the printer's settings menu, look for the "Wireless Setup Wizard" or a similar option. Select it to begin the WiFi setup process.
- Your printer will scan for available WiFi networks. Once the list appears, select your new WiFi network from the list.
- If prompted, enter the WiFi password using the printer's keypad or touchscreen interface. Ensure the password is entered correctly to avoid connection issues.
- Once the password is entered, your HP printer will attempt to connect to the WiFi network. This process may take a few moments. Once successfully connected, you'll receive a confirmation message on the printer's display.
Step 5: Confirm Connection
After the printer successfully connects to the WiFi network, it's essential to confirm the connection from your computer or mobile device.
- Open the HP Smart app or printer setup software on your device.
- Follow the on-screen instructions to add your printer to the app or software. This typically involves selecting your printer model and confirming the connection.
- Once your printer is added, you should be able to print a test page to verify that the connection is working correctly.
Step 6: Final Checks
After completing the setup process, it's a good idea to perform a few final checks to ensure everything is working as expected:
- Print a test page to confirm that the printer is functioning correctly.
- Verify that your printer appears as an available device on your computer or mobile device.
- Ensure that you can print from various applications without any issues.
By following these simple steps, you can quickly and easily set up your hp service error 79. Having your printer connected to your WiFi network offers the convenience of printing from any device connected to the same network, making printing tasks more efficient and hassle-free.


