
Installing batt insulation yourself can save 25-40% on installation costs, but improper installation leads to a 20%-30% reduction in efficiency. The key success factors are correct measurements, proper protective gear, and addressing all gaps and compressed areas. DIY batt installation works best in open, rectangular spaces with few obstacles, while professional installation is recommended for complex areas requiring custom fitting.
Batt insulation, those familiar blankets or rolls of fiberglass or mineral wool, remains popular for DIY projects due to its accessibility and relatively straightforward installation. This guide explores everything you need to know before grabbing those batts and tackling the job yourself.
Types of Batt Insulation Materials
Different materials offer varying benefits for your specific needs:
Material | R-Value per inch | Cost per sq.ft. | Fire Resistance | Sound Dampening | Moisture Resistance |
|---|---|---|---|---|---|
Fiberglass | 2.9-3.8 | $0.35-$1.20 | Good | Fair | Poor |
Mineral Wool | 3.0-3.3 | $0.60-$1.20 | Excellent | Excellent | Good |
Cotton | 3.0-3.7 | $1.00-$1.60 | Good | Good | Fair |
Sheep's Wool | 3.5-3.8 | $1.40-$2.30 | Good | Good | Excellent |
According to recent market data, fiberglass batts account for approximately 71% of residential insulation installations due to their cost-effectiveness and availability.
When DIY Works (And When It Doesn't)
DIY batt insulation installation works best in:
- Open, unfinished walls with standard spacing
- Attic floors with few obstacles
- Rectangular spaces with minimal cutting required
- Projects where time constraints aren't critical
Bonus Tip: Before starting, take detailed measurements of all areas and add 10% extra material to account for mistakes or unusual spaces.
Professional installation might be better for:
- Irregular spaces requiring custom cutting
- Areas with numerous obstacles (wiring, pipes, fixtures)
- Homes in extreme climate zones where performance is critical
- Projects requiring completion on tight deadlines
:max_bytes(150000):strip_icc()/SPR-install-insulation-in-open-walls-4117071-hero_53880-90ad8509fade4660a5f039f1a1eff15c.jpg)
Tools and Materials Needed
Essential Tools | Purpose | Estimated Cost |
|---|---|---|
Utility Knife | Cutting insulation | $5-15 |
Tape Measure | Measuring spaces | $5-25 |
Staple Gun | Securing faced batts | $15-50 |
Safety Gear | Personal protection | $30-80 |
Straight Edge | Guiding cuts | $10-30 |
Work Light | Improving visibility | $20-60 |
Safety Equipment Requirements:
- Respirator mask (N95 minimum)
- Safety goggles
- Long sleeves and pants
- Work gloves
- Head covering
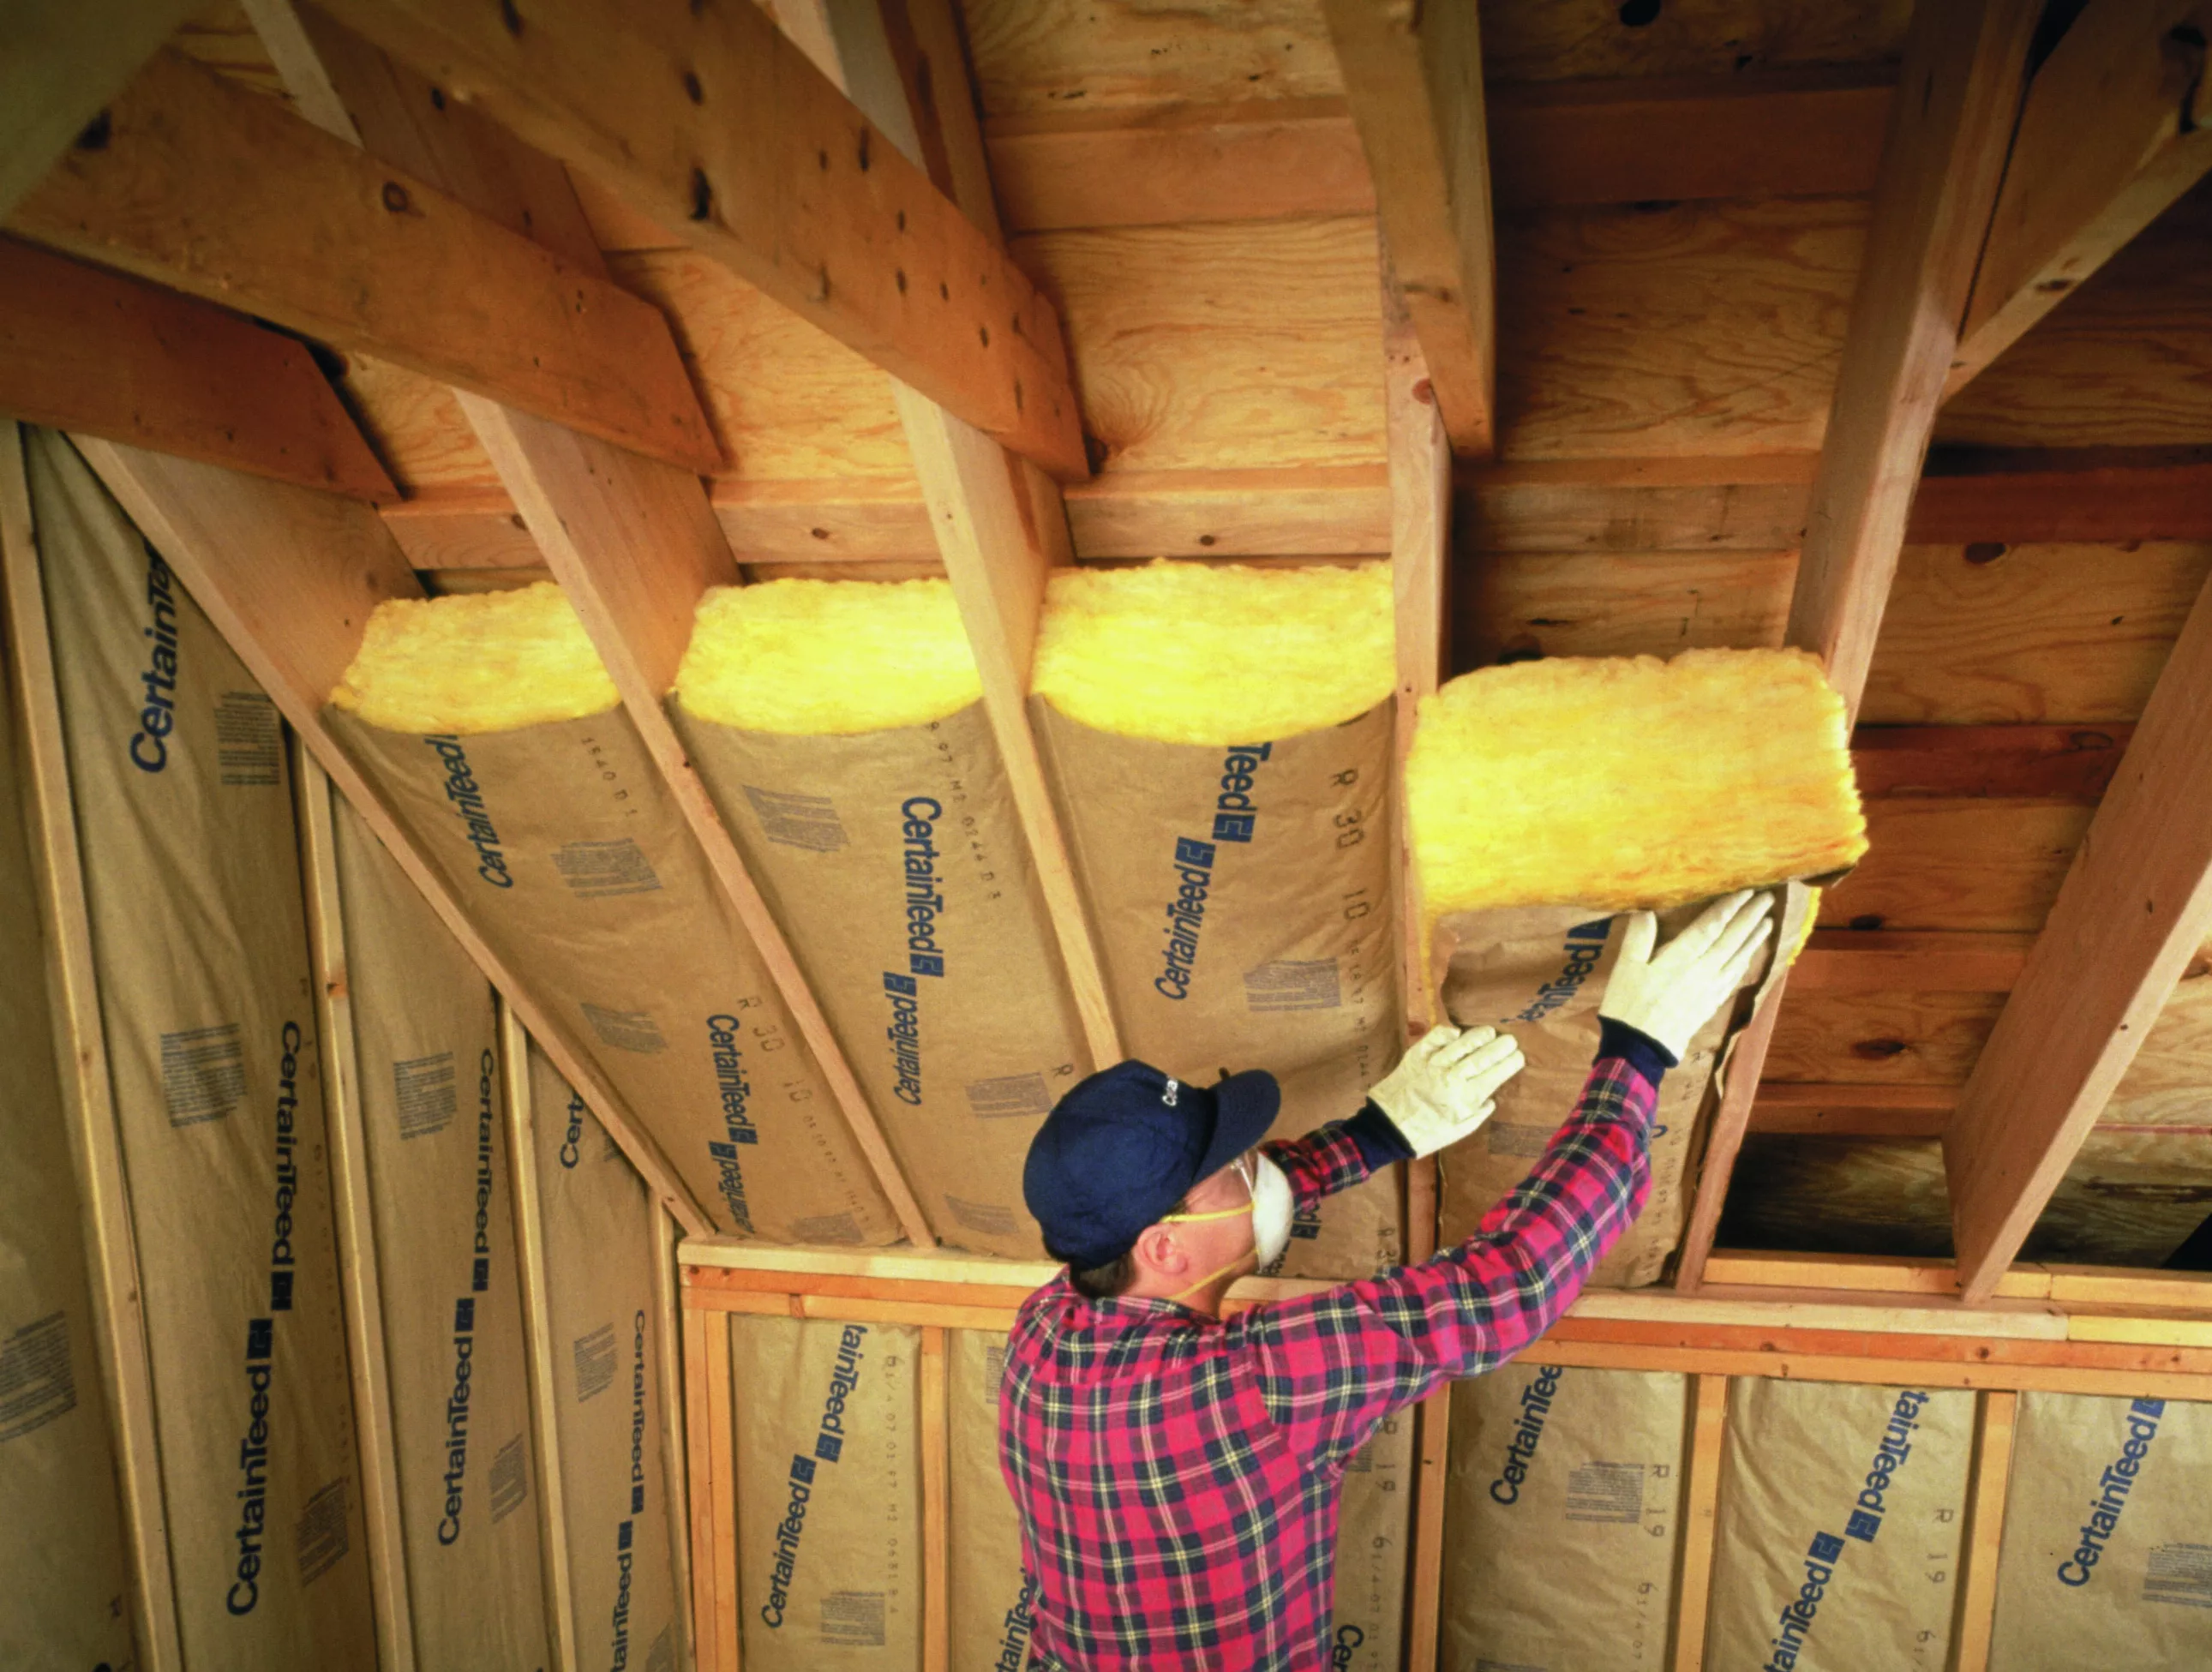
Step-by-Step DIY Installation Process
- Measure twice, cut once Carefully measure each cavity width and length.
- Cut insulation Cut batts slightly larger (¼ inch) than the space for a snug fit.
- Install around obstacles Split batts to fit around electrical boxes, wiring, and pipes.
- Check for gaps Ensure no spaces between batts and framing members.
- Address compression Avoid squeezing insulation as this reduces its effectiveness.
Bonus Tip: Install unfaced batts in layers perpendicular to each other in attics to minimize gaps and thermal bridging.
Common DIY Installation Mistakes
The most frequent errors that reduce insulation effectiveness include:
- Compressing insulation (reduces R-value by up to 50%)
- Leaving gaps between batts and framing (creates thermal bridges)
- Not addressing obstacles properly (creates cold spots)
- Improper vapor barrier installation (can lead to moisture problems)
- Inadequate coverage in corners and edges
Things to Consider Before Making a Decision
Before starting your DIY insulation project, evaluate:
- Skill Level Required: Be honest about your DIY abilities and experience
- Time Commitment: A typical room takes 4-8 hours for a novice
- Climate Zone: Higher R-values needed in extreme climates require precise installation
- Home Structure: Older homes may have irregular framing requiring custom fitting
- Long-term Plans: Higher-quality installation pays dividends in energy savings over time
Market research indicates that approximately 40% of DIY insulation projects require some form of remediation within five years due to installation errors.
Cost Comparison: DIY vs Professional
Aspect | DIY Installation | Professional Installation |
|---|---|---|
Material Cost | $0.35-$2.30/sq.ft. | $0.35-$2.30/sq.ft. |
Labor Cost | $0 | $1.50-$3.50/sq.ft. |
Equipment Needed | $85-$210 upfront | Included |
Time Investment | 8-16 hours (1000 sq.ft.) | 4-8 hours (1000 sq.ft.) |
Energy Efficiency | 70-90% of optimal | 90-100% of optimal |
Warranty | Material only | Labor + Material (1-10 years) |
Topic FAQ
How long does DIY batt insulation installation take?
For a first-timer, expect to spend 8-10 hours insulating a standard 1,000 square foot area. Your speed improves with practice, but rushing often leads to mistakes.
Can I install batt insulation over existing insulation?
Yes, in attics you can add unfaced batts over existing insulation, preferably perpendicular to the first layer. For walls, remove old insulation first to ensure proper fit and performance.
What's the most important factor in DIY batt insulation success?
Proper fitting without compression or gaps makes the biggest difference. Insulation works by trapping air, so maintaining the full thickness and ensuring complete coverage determines performance.
Do I need permits to install insulation myself?
Most areas don't require permits for simple insulation replacement, but adding insulation as part of larger renovations might need approval. Check with local building authorities before starting.
How do I know if my DIY installation is working properly?
Monitor your energy bills before and after installation. You should notice a 15-30% reduction in heating/cooling costs with properly installed insulation. Uneven temperatures between rooms often indicate installation problems.
Make the Right Decision
DIY batt insulation provides significant cost savings when done correctly but requires careful attention to detail and proper technique. Focus on complete coverage, proper fitting around obstacles, and maintaining the full thickness of the material throughout the installation. Evaluate your comfort level with the process honestly, and consider professional installation for complex areas where maximum performance matters most.
Reviewer:
Ava Clark shared her input based on 6 years of working with spray foam insulation teams. Her focus on customer trust and communication helped shape key parts of this post.


